course: photographic lighting

Note: This course doesn’t run very often. Most of my lighting teaching is currently scheduled as standalone sessions through my group Melbourne Photography Education on Meetup.
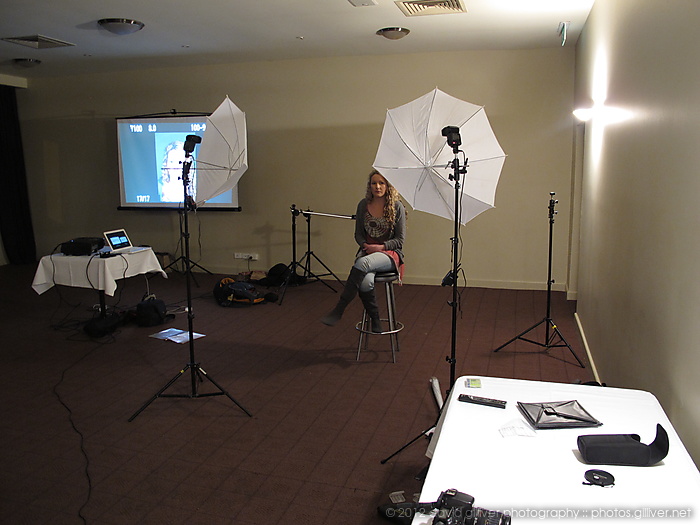
Light is something we all interact with on a daily basis. Surprisingly, many photographers don’t really understand how it works or how it can be manipulated. This course starts with basic theory and then applies that theory through a structured series of live camera demos displayed on a digital projector. Students watch each photo being created and are able to scrutinise the lighting setup and the camera settings used.
While some studio lighting equipment is demonstrated, there is a strong focus on using whatever equipment you may have available. Light behaves the same whether it’s produced by a bedside lamp or an expensive studio flash. You may not be able to take lighting equipment everywhere but a little lighting knowledge is a powerful tool you can take anywhere.
Lighting is best learned by doing it. Unfortunately, designing a course that allows every participant to try each shot themselves would require a lot of time spent waiting for people to take photos. Homework is assigned each week so that students can get some first-hand practical experience.
I use flash lighting heavily as that is my preferred light source. If you are scared of flash, I spend some time taking the mystery out of it. Students who do not want to use flash will find that the lighting concepts will generally work with any other light source they choose to use (with some flash-specific exceptions).
when and where

This course consists of 6 two-hour lecture/demo sessions plus one practical outdoor session, conducted over 6 weeks. Each session starts at 8pm and runs for approximately 2 hours.
The weekly evening sessions are conducted in the upstairs function room at the Rosstown Hotel in Carnegie. The Sunday evening session is conducted outdoors in the Melbourne CBD.
assumed knowledge
The course assumes that students have not manipulated light before. It also assumes that students understand how to operate their camera and that they have a working knowledge of aperture, shutter speed and film speed. It is best suited to people who have learned the basics of photography and are now looking at taking their photography to the next level.
what to bring

Students need to bring their cameras to session 4 but they will not be required for any of the other sessions. Basic notes for each session are supplied and all demonstration photos are posted online within a couple of days of each session. Students are welcome to bring pen/paper if they wish to make additional notes.
if you’ve seen me speak before…
Basic versions of these sessions have been run at camera clubs around Melbourne over the last 5 years. The course features expanded versions of my “Introduction to Flash” presentation and my two “Playing With Light” presentations (which are split into 3 sessions and expanded). The last couple of sessions are new content, designed to push students beyond the basics covered in the first few sessions.
fee and enrolment

There is a course fee of $350. Student numbers for each course are limited to 15 with a minimum of 5.
If you are interesting in attending this course in the future, send an email to david@gilliver.net to sign up.
topics covered:
| session 1 – light & reflection Why add light? What is light? Types of reflection Direction of light Size of light Light colour and white balance Inverse square law | session 2 – flash photography Why use flash? Equipment: flash + trigger + slave trigger Colour of flash – white balance settings Shutter speed and sync speed Controlling flash with aperture Blending flash and ambient TTL flash and fill flash Deliberately over-driving sync speed |
| session 3 – lighting people On camera flash Off camera flash Softened light Using multiple lights and reflectors Bounce flash Evil, evil, evil pop-up flash | session 4 – using available light (outdoor Sunday night session in city) Big lights Small lights Light direction Using found reflectors |
| session 5 – lighting modifiers Softboxes Gels, grids and gobos Creating natural vignettes Feathering light Applied inverse square law | session 6 – product photography Shiny objects Transparent and semi-transparent objects Lighting food |
| session 7 – advanced techniques Butterfly lighting Beauty dish Ring flash and simulated ring flash Layered lighting Course conclusion |
previous students said:
“Overall your style of teaching is really easy to understand and I learned a lot from this course.”
“This was advanced for me but still got lots out of it.”
“Much of the photography was different from what I normally do but I have been inspired to use my camera more and differently. Thanks, well done!”
“A fantastic course. Would recommend to anyone wanting to improve your lighting knowledge and technique. “
