
I don’t shoot enough outdoor portraits but I love the challenge when I do. It’s over a year since I did this shoot but given that it’s Star Wars Day today (May the 4th… be with you) it seemed appropriate to post it and discuss how it was created.
While visiting friends in NSW, I asked their son Elliott how he wanted to be photographed. It wasn’t any great surprise that he wanted to be Luke Skywalker. He had some clothes and props we could use but to pull it off we’d need a location that could pass as part of the Star Wars world. We bundled some gear into the car and set off to the nearby Stockton Sand Dunes.
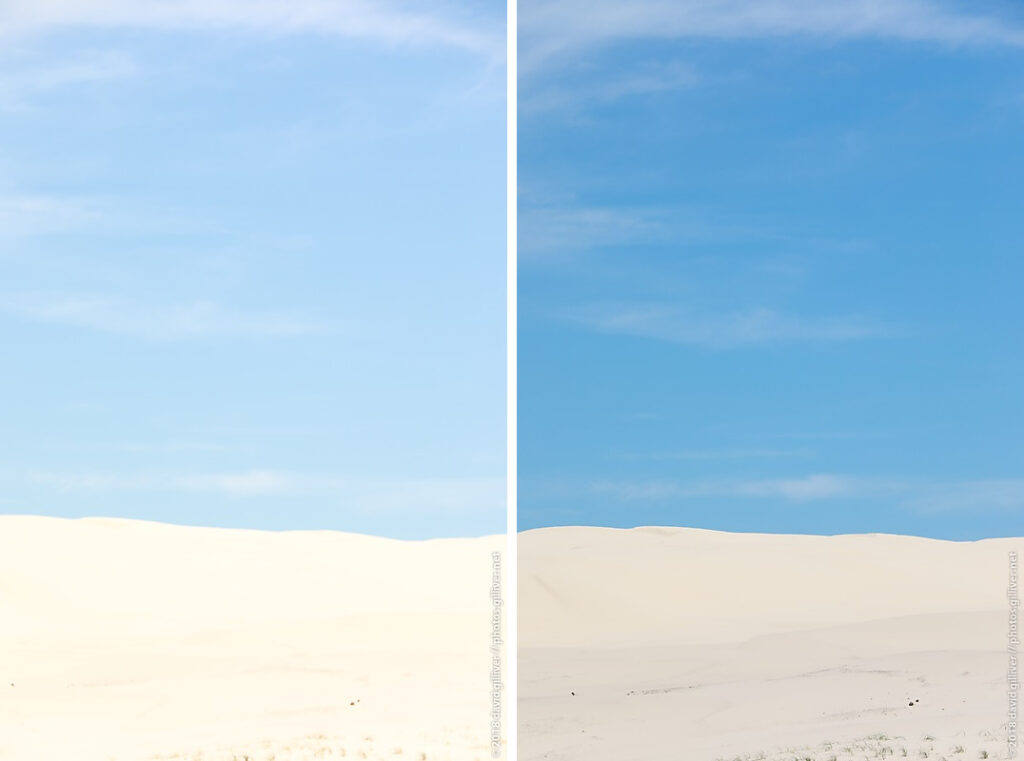
For this photo I used 3 light sources. The first of those was the available light so I started my figuring out a camera exposure that would give me a good backdrop while allowing for the 2nd and 3rd lights I would add later.
In the photo below you can see my first shot was too bright – the colour of the sky was washed out. Closing my aperture from f/8 to f/11 brought it under control.
I was now ready to add my 2nd light and my subject. There are two things happening here.
The first was a bit of problem solving: we were shooting out in the open at midday in the hot summer sun so I had to keep the harsh sunlight away from his face. For this, Elliott’s Mum stepped in holding a big golf umbrella over his head, keeping him in the shade.
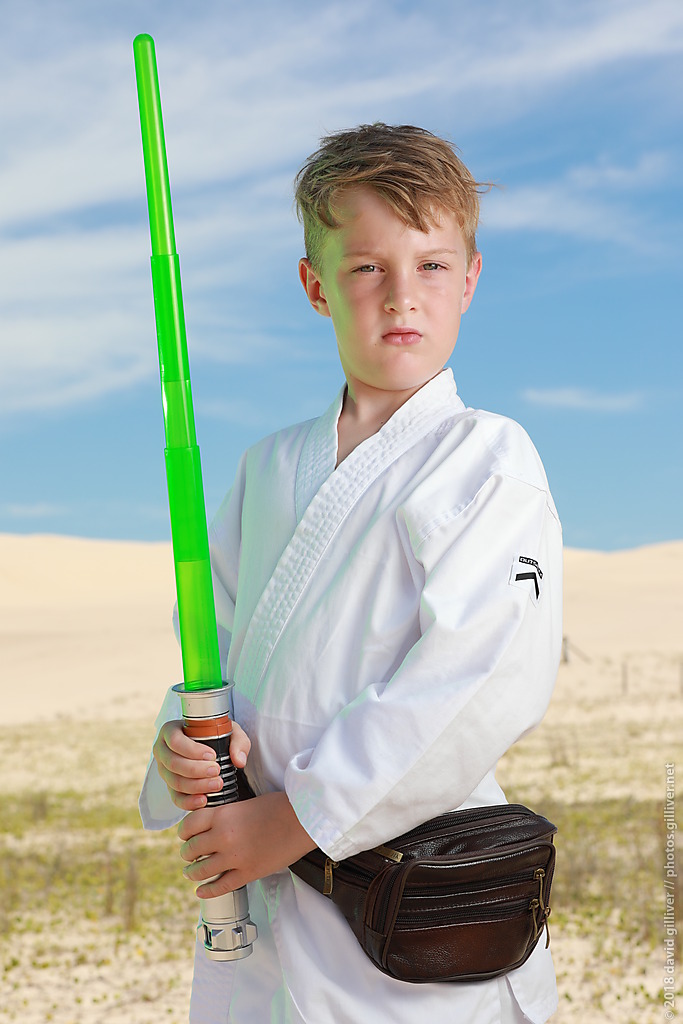
The other element was the addition of a Canon speedlight behind him to the left, pointed at his face from low and held by his eldest sister. This speedlight had a green gel slapped on it so that the light hitting his face would appear to be caused by the “glow” of his green lightsaber. If I was to edit this shot to replace the plastic lightsaber blade with a digital version version I’d want a green glow on his face to complete the illusion. Digitally adding this glow later could prove tricky so doing it for real with a green light was an easier approach.
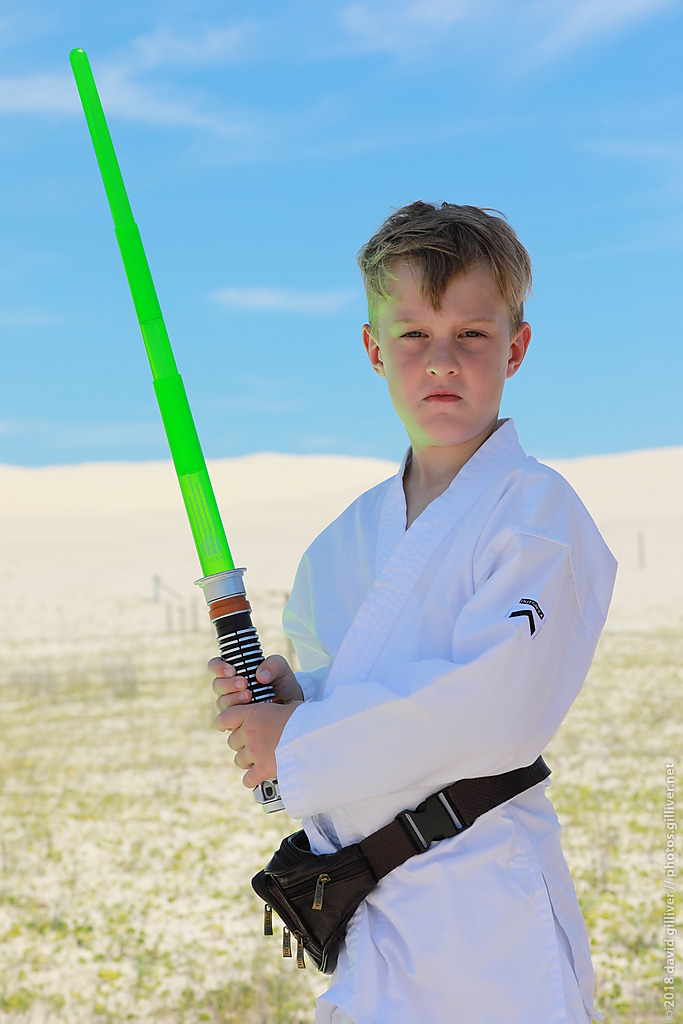
The only problem now is that placing him in the umbrella shade has made him too dark for the environment. We now add the 3rd light: a Godox AD200 fired into a small softbox, held by his father at camera right.

In this test shot you can just see the edge of the softbox creeping into the top right of our photo. That light needed to be kept in close because we needed all of the power it could produce to balance that bright sunlight in the background. In some ways the nice and soft quality of this light is all wrong if we’re trying to fake the look of the bright sunlight behind him. That’s a flaw I’m happy to live with in this case.
Now that the setup was all working, it was just a matter of getting him to work some poses and look in different directions for dramatic effect…
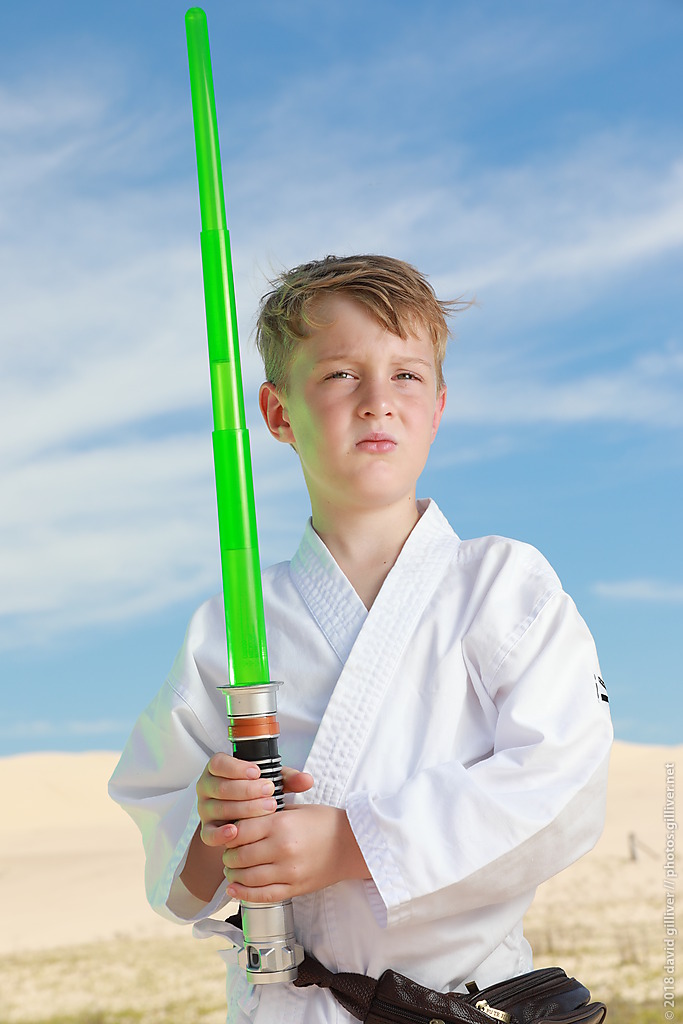
From the first test shot to the final image, this little shoot took 12 minutes. It was hot and uncomfortable so we quickly scurried back to the air-conditioned car.
When you’re shooting outdoors with flash, the first thing you have to do is get your ambient light under control. In this case, there were two parts to that: the camera exposure to make the background look good and then the addition of the umbrella to keep the harsh sun off him. From there it was relatively straightforward to adjust the power and placement of the flashes.